Switching from QuickBooks Online to Sage 50 is a significant transition for any business, but it could be the right move if you’re looking for a more robust accounting system. Sage 50 offers powerful financial management tools, including more advanced reporting capabilities, offline functionality, and enhanced data security.
While the migration process may seem challenging, it can be made easy with careful planning and the right guidance. This step-by-step guide will walk you through the process to convert QuickBooks Online to Sage 50 smoothly.
Need help converting QuickBooks Online to Sage 50? Call us at for expert assistance every step of the way!
Why Convert QuickBooks Online to Sage 50?
While QuickBooks Online is a popular and convenient accounting tool for small businesses, some companies need more powerful, customizable features that Sage 50 offers.
Sage 50 is particularly ideal for businesses with more complex accounting needs, as it provides deeper insights, comprehensive reports, advanced inventory management, and payroll capabilities.
Additionally, Sage 50 allows businesses to operate offline, unlike QuickBooks Online, which requires a constant internet connection.
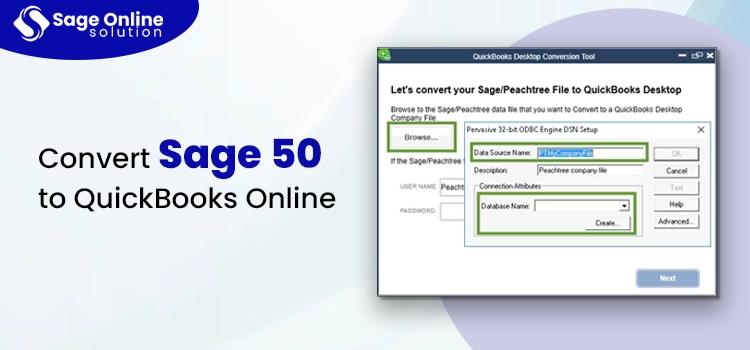
Other reasons why businesses opt to convert Sage 50 to QuickBooks Online include:
Improved Financial Reporting: Sage 50 offers a broader range of customizable financial reports, including detailed balance sheets and cash flow statements.
Offline Capability: Sage 50 allows businesses to work offline, providing uninterrupted access to accounting data.
Advanced Inventory Management: Sage 50 excels at managing inventory with more advanced tools compared to QuickBooks Online.
Steps to Convert QuickBooks Online to Sage 50
Converting your accounting system from QuickBooks Online to Sage 50 requires careful attention to detail, but the process is manageable. Here’s a step-by-step guide to ensure a smooth transition:
1. Prepare Your QuickBooks Online Data
Before you begin the migration process, it’s essential to clean up your QuickBooks Online data. This involves reviewing your accounts, transactions, and records to ensure that everything is accurate and up-to-date. It’s best to perform the following tasks:
Reconcile your accounts: Make sure all bank accounts and credit card transactions are fully reconciled.
Clean up your data: Remove duplicate entries and outdated information to avoid transferring unnecessary or inaccurate data.
Backup your data: Always back up your QuickBooks Online data before beginning the migration process to avoid data loss.
2. Export Your Data from QuickBooks Online
QuickBooks Online allows you to export your important financial data to Excel or CSV files. To begin the conversion, export the following:
Chart of accounts: This includes all your account categories.
Customer and vendor information: Make sure you export all customer details and vendor records.
Transaction history: Export invoices, bills, payments, and any other transaction records.
Payroll data (if applicable): If you’ve been using QuickBooks for payroll, export this information as well.
3. Install Sage 50 and Set Up Your Company Profile
Before importing your data, you’ll need to install Sage 50 on your desktop. Once installed, set up your company profile in Sage 50. This includes:
Business information such as company name, tax identification number (TIN), and contact details.
Financial year setup and preferred accounting methods.
4. Import Your Data into Sage 50
After preparing your QuickBooks Online data, it’s time to import it into Sage 50. You can manually map your exported files to the corresponding fields in Sage 50. For example:
Map customer details to Sage 50’s customer list.
Map your chart of accounts to Sage’s account categories.
Import transactions, bills, and invoices into the corresponding Sage modules.
Sage 50 provides data import tools that allow you to upload CSV or Excel files. Be sure to double-check the mapping of the fields to ensure that everything is correctly imported.
5. Verify and Reconcile Your Data in Sage 50
After the import, it’s crucial to verify the accuracy of your data. Cross-check financial reports, such as your balance sheet and profit & loss statement, to ensure they match your QuickBooks Online records. If discrepancies arise, go back to the imported data and make adjustments as needed.
It’s also a good idea to reconcile your accounts again in Sage 50 to ensure everything is properly aligned.
6. Train Your Team on Sage 50
Sage 50 operates differently from QuickBooks Online, so it’s important to provide training for your team. Ensure that they are familiar with Sage 50’s interface, key features, and workflows. Consider offering training sessions to ensure everyone is comfortable using the new system.
Get Expert Help with Your Conversion
If you're not comfortable performing the migration yourself or need help at any stage of the process, our team of experts is here to assist. We specialize in converting QuickBooks Online to Sage 50, and can guide you through each step to ensure a smooth and accurate transition.
Conclusion
Converting from QuickBooks Online to Sage 50 can bring powerful benefits to your business, including advanced financial reporting, offline capabilities, and more robust inventory management. By following these steps, you can ensure that your migration is successful and that your business can start leveraging the full potential of Sage 50. If you need help along the way, don't hesitate to reach out to our experts.
Also Read : Sage Microsoft 365 Integration

Write a comment ...